Saturday, March 17, 2012

Decks and Outwalls

Last Saturday I got back from Florida where Debra and I watched out grandchildren while Ben & Emily completed the Everglades Challenge. Out of about 60 boats only 17 finished and they were number 14. They worked hard and even did the entire Wilderness Waterway through Everglades National Park. We are very proud of them for their perseverance. So now I'm back home to ministry and building. I completed the decks earlier in the week and installed them between the inwalls.

The decks will double as a carrying handle and I will install stainless steel padeyes under the deck to attack a line to and serve as a tie down point. This will keep the top of the deck and canoe clear and clean.
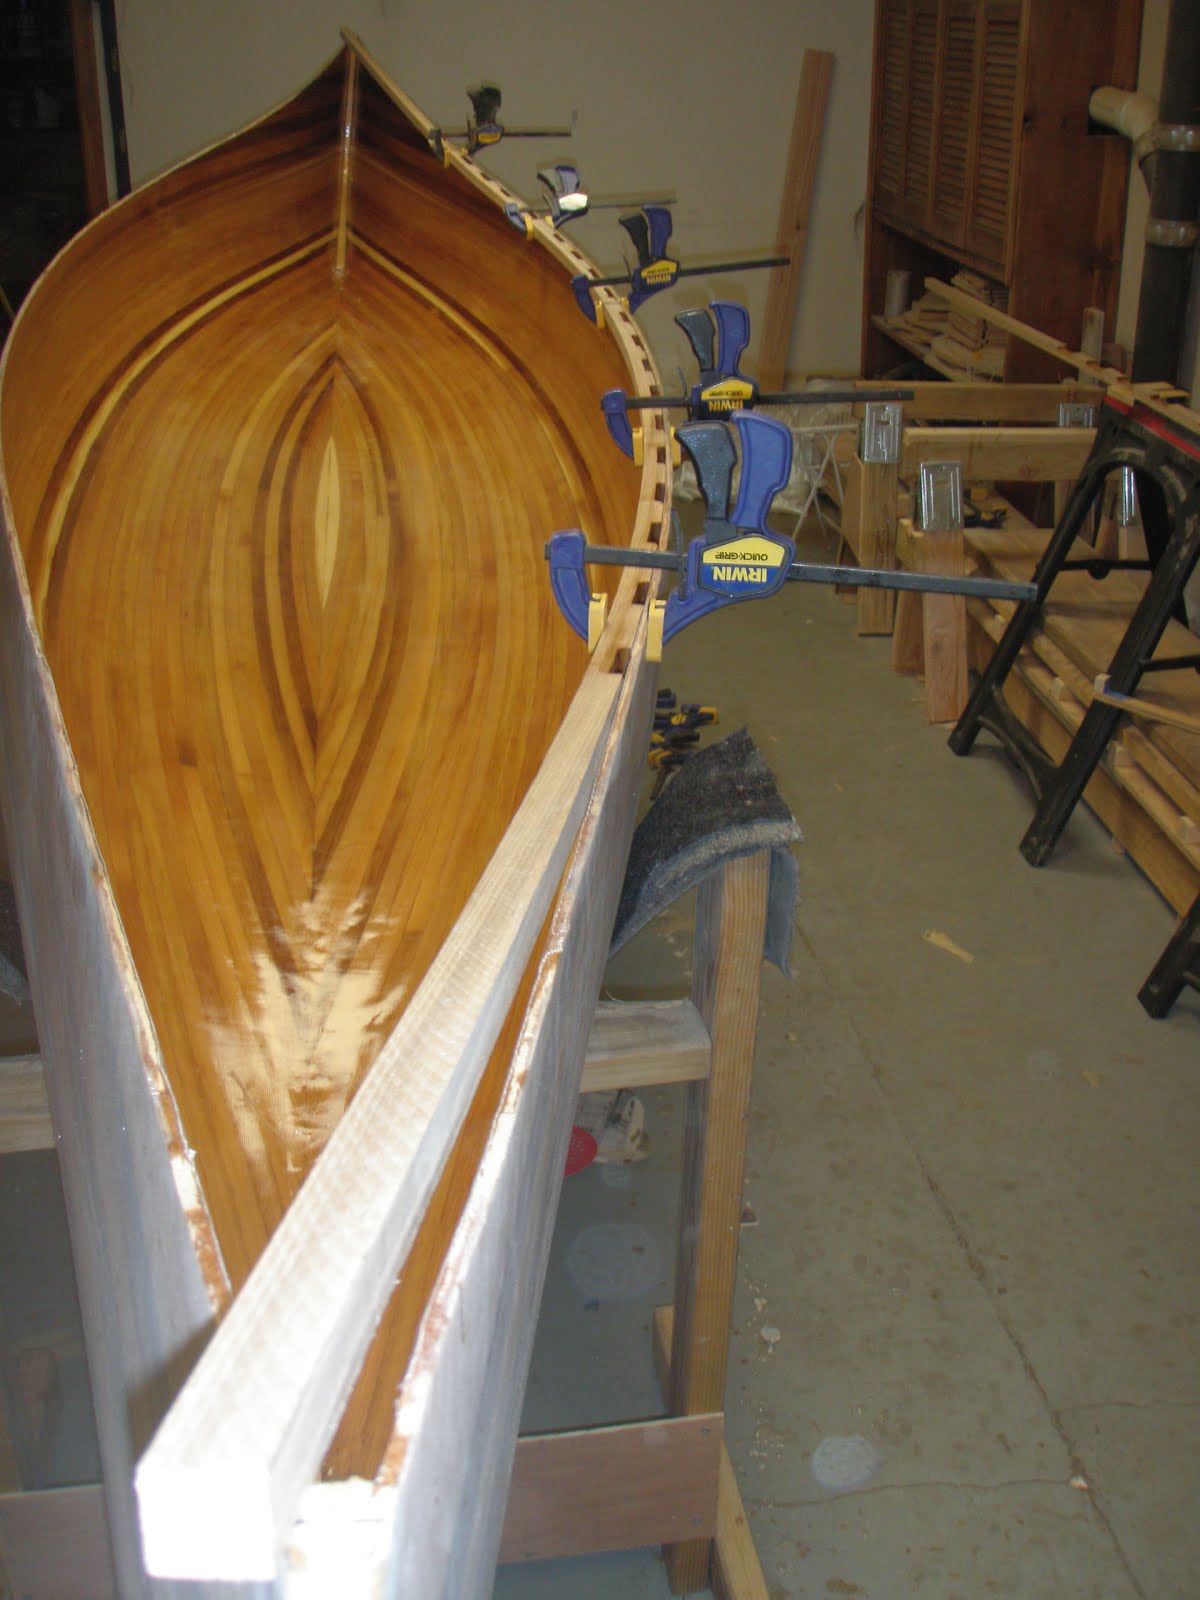
Preparing and installing the outwalls was a big job. They are made out of 7/8" ash. First I had to make two cuts. The first cut was the length of each outwall to taper the bottom edge from 7/8" to a 5/8" edge. This reduces some weight and looks good. The other taper was the same as on the inwall from 32" from the end and from 7/8" to 3/8". I again used the taper jig and it worked great. Once I got everything sanded and looking straight I had to try dryclamping each outwall to check that everything fit. I also needed to check that the screws I planned to install every 12" did not fall on the screws holding the inwalls. When all looked good I mixed a batch of thickened epoxy with some sanding dust for color and brushed it on.
The whole process took longer than expected but everything worked out well. I used clamps along with the screws and squeese clamps between the scuppers to keep the hull tight to the outwall.
Here you can see the screw holes. They are recessed about 1/4" and will receive a plug. The next step will be to use a beltsander across the inwall, outwall and top of deck to get everything smooth. I'm debating about just varnishing all this or covering it with epoxy first. I will test both out on a piece of ash with a plug.

Saturday, March 3, 2012

Everglades Challenge 2012

Today Ben & Emily launched at 7:00 a.m. from Ft. Desoto Park on the Tampa Bay in the Everglades Challenge 2012. Conditions were difficult to say the least with a 20 plus knot wind coming directly from the south which is the way they are headed. The wind is supposed to change tomorrow night. There are about 80 boats. Here are some pictures from the launch
Here is a short video of their takeoff. You can track them with everyone from the Watertribe tracking map or by themselves from Ben's SPOT page. Debra & I will be watching, praying and waiting for them in Key Largo with Sara and David.

Thursday, March 1, 2012

Installing the Inwalls

This week I installed the inwalls that I cut the scuppers in last week. Here I am checking a dry fit to cut the ends to length. It was a bit of a wrestling match doing this alone and an extra set of hands would have been welcome.
The plans call for a 30" taper from the stem in. This cut goes from 3/8" to the edge so your basically shaving off 4/8" of an inch over 30". I was trying to figure out how to cut this without messing it up. My son Ben send me the link for a Table Saw Taper Jig from woodworkingtips.com It really worked well and cut long beautiful tapers. The challenge is to make sure your cutting them on the right side.
Here is the one inwall installed and epoxied on. Once I got the center in place the rest clamped down fairly easy. I learned with the first one to do a final dry fit as well. Even though I thought I had it just right once it was popped into place I was 1/16" short on each side. I filled in with a few slivers of ash. The plans also called for using some 1/2" stainless steel screws to hold it into place. I've got 9 screws on each side
Here is a shot from the inside with both inwalls installed. The taper and the scuppers really look good and I was glad to see the results of the extra work. This inside still needs to be sanded before final coats of varnish but I think its looking pretty good.
Overhead shot of the inside with both inwalls installed.
This is the bow with the light colored piece of cedar marking the waterline. Now we're off to Florida to launch Ben and Emily in the Watertribe Everglades Challenge. They leave Tampa Bay on Saturday and we will drive their SUV, trailer and the kids to Key Largo and wait for them. You can track them off the Watertribe site by clicking on map and their name. Macatawa or Northern Light.

Monday, February 20, 2012

Inside the Hull: Scupper & fiberglass

Begin with the end in mind. Here is a picture of my friend Lou who helped me glass the inside of the canoe today. I'm very please how its looking and can't wait to install the gunnels next. After about 4 hours I'll install the 2nd coat so it makes a strong chemical bond. Two coats should be enough on the inside to give a bit more texture and no slip surface. Now, back to the beginning.

In celebration of President's Day today I worked on the canoe and made great progress. All last week I had been trying to lay out the "scuppers" (3" x 1/4" groves cut in the inner gunnels) in a pattern that would pleasingly give me solid wood for the yoke, thwart and seats. It was quite a challenge and I don't want to tell you how many diagrams I drew. Anyway, I finally transferred my pattern to a cedar batten that was clamped in place where the gunnels will go and it all worked out. I marked the strip and transfered my pattern to the two 3/4"x3/4" ash gunnels. I also invented a jig for my router that would cut exactly a 1/4" x 3" groove with a 1/2" router bit. I'm sure someone else has long ago invented this before me but since I didn't have their plans I considered it my invention.
The ash gunnel slid in a trough where each part to be cut was marked with a center arrow. It worked quite well although using a router is no joke. I purchased a new 1/2" bit but it still splintered the wood in some places. Not sure why.
Since it was nearly 50 degrees in February I set this all up outside. It worked very well except for my few mistakes that I hope you'll never see. :) Here you get a glimplse of some of the completed "scuppers".
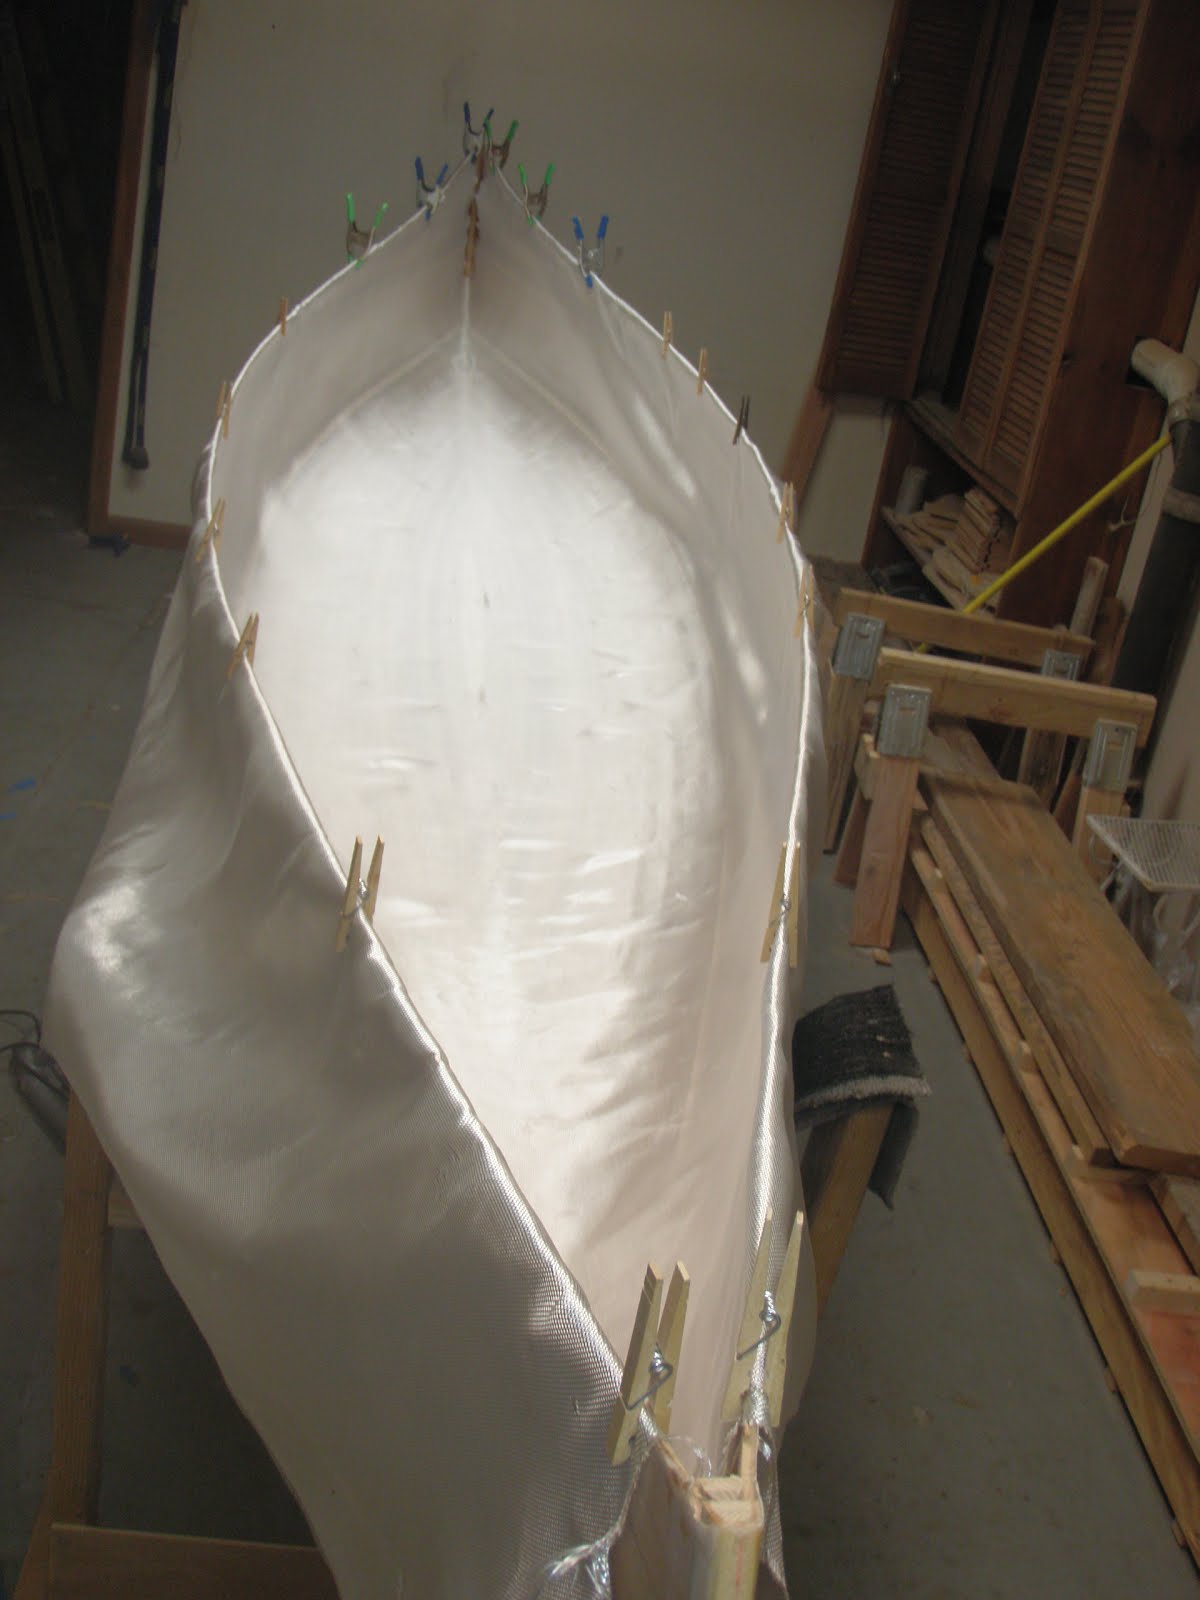
Before I did this I got Debra to help me lay out the figerglass cloth in the hull so it had time to settle. I think I used up all of our clothes pins and had to go to clamps to hold it in place. It actually settled in very nicely.
The book recommended leaving 4" at the end rather than trying to wrap the stem in glass cloth. My son Ben confirmed to me that the ends are inherently strong as they are and don't need the extra strength of the cloth. nevertheless, stubborn as I am and wanting the canoe to be as strong as possible I pushed the cloth to as close to the end as I could get it. I now understand why they recommend 4". However I was able to lift the cloth as recommend and lay the epoxy behind it and lay it back down. All in all in laid down well in the corners and extends almost to the stems.
I picked up my friend Lou after his shift in the deli at Shoprite and he mixed epoxy while I installed it. The inside of the hull actually went easier and faster than the outside. I used the squeegee more than the brush in just pulling it up the sides as it filled the weave of the clother.
Here is a picture of the completed first coat and Lou. I'm very please how its looking and can't wait to install the gunnels next. After about 4 hours I'll install the 2nd coat so it makes a strong chemical bond. Two coats should be enough on the inside to give a bit more texture and no slip surface.

Monday, February 13, 2012

Flipping the Hull

Today I did the nasty job of sanding the epoxy on the hull. Since it had 2 days to set and was very hard I figured I could try to "not put off till tomorrow what I could do today". Canoe Craft also recommended that the hull might be more stable if it was still on the stations. After about 3 hours with 80 grit and then 120 grit on the random orbital sander my hands are still vibrating. But, its all done and ready for the varnish later. Looks really good when I rub water on it, which gives a taste of the final finish.
My friend and fellow Cadet Counselor Terry came over to help me flip it off the stations. I left the bow and stern stations in place and took them out later. Came off really well. Terry, who is also been helping in the River of God School of Paddling wanted to know when we can paddle it. Sorry, this ones to raise money for Paterson Habitat for Humanity to continue to build homes here in the city in partnership with families. Now it looking like a canoe. On with the fun of sanding and glassing and sanding again the inside. But I'm starting to plan installing the gunnels. Stay tuned.

Saturday, February 11, 2012

Glassing the Hull

Well, after much sanding and more sanding and more sanding and then a whole lot of sweeping and vacuming and more vacuming I finally was ready to glass the hull. This is really a "no turning back" experience so I wanted to be sure everything was ready. Thursda evening I did a final cleaning of the hull and Friday morning my friend Lou and I draped the cloth over the hull. Friday evening at 5 p.m. we began with Lou mixing epoxy while I brushed it into the cloth.
I'm using MAS again because I found it very easy to work with and was pleased with the outcome. Here is Lous mixing while I installed it. The first coat takes alot. It took us from 5 - 8 to install the first coat and another hour for me to finish finishing it.Its best to do all the coats within a 10 hour timeframe so tha the chemical bond of the epoxy gets really strong between coats I began the second coat at 11 p.m. and finished at 1 am. I did the final 3rd coat at 10 am. Saturday morning. I'm very please with the patterns and the finish.
Next step is to flip it over and do it all again on the inside. Fun!

Friday, February 3, 2012

The Hull is planked!

Its been awhile since I've blogged but I've been steadly working on the canoe and making good progress. Filling in the bottom gets challenging with exact miters required on each end to the perfect length. I really took my time and each piece went in well. I used straps to clamp them down as well as screwed blocks and clamps.

Here is a picture with the sheet strip cut to the angle of the finish. I clamped a thin strip left from the kayak along the sheer line, traced the line and cut it with a saber saw. Its still a bit rough but is not the final edge yet. Its really starting to look like a canoe now.

Setting the outer stems is also a delacate and exact process. With a very sharp chisel I cut the notch where the outer stem rests on the inner stem. It seemed confusing reading the instructions in Canoe Craft but as I proceeded it made sense. Once the notch is cut and the stem fits securely I drilled holes in the stem through which #6, 1 1/4 screws would easily slide. Then I drilled a smaller hole where they will grip into the inner stem. The instructions warned against tightening the screws to much to snap off the heads and still I snapped two. Then I set the torque lower on the drill and did fine. When all fit perfect I mixed up a batch of epoxy and brushed it over the inner stem wood 4 times to let it really sink in. Then I thicked the epoxy with silica and sanding dust, gobbed it on and screwed it down. (with waxed screws). The extra epoxy oozed out as it was supposed to and fille all the gaps. WOW - it all really worked. :)

This is now getting planed down to the perfect angle and then sanded. Setting the final strip was a real challenge. The instructions recommended glueing the last two pieces together with the curve matching the curve of the last strip. I figured out a way to do this right over the last strip. They I measured about 10 times, cut once, reglued the cut on and cut again to get the final sliver of a strip that fit just perfect.


Here it is! The finished hull. I'm very pleased how i looks and some of the contast stips should look really good once finished. Next step is planing and sanding the entire hull before fiberglass.