
This week I installed the inwalls that I cut the scuppers in last week. Here I am checking a dry fit to cut the ends to length. It was a bit of a wrestling match doing this alone and an extra set of hands would have been welcome.
 The plans call for a 30" taper from the stem in. This cut goes from 3/8" to the edge so your basically shaving off 4/8" of an inch over 30". I was trying to figure out how to cut this without messing it up. My son Ben send me the link for a Table Saw Taper Jig from woodworkingtips.com It really worked well and cut long beautiful tapers. The challenge is to make sure your cutting them on the right side.
 Here is the one inwall installed and epoxied on. Once I got the center in place the rest clamped down fairly easy. I learned with the first one to do a final dry fit as well. Even though I thought I had it just right once it was popped into place I was 1/16" short on each side. I filled in with a few slivers of ash. The plans also called for using some 1/2" stainless steel screws to hold it into place. I've got 9 screws on each side
 Here is a shot from the inside with both inwalls installed. The taper and the scuppers really look good and I was glad to see the results of the extra work. This inside still needs to be sanded before final coats of varnish but I think its looking pretty good.
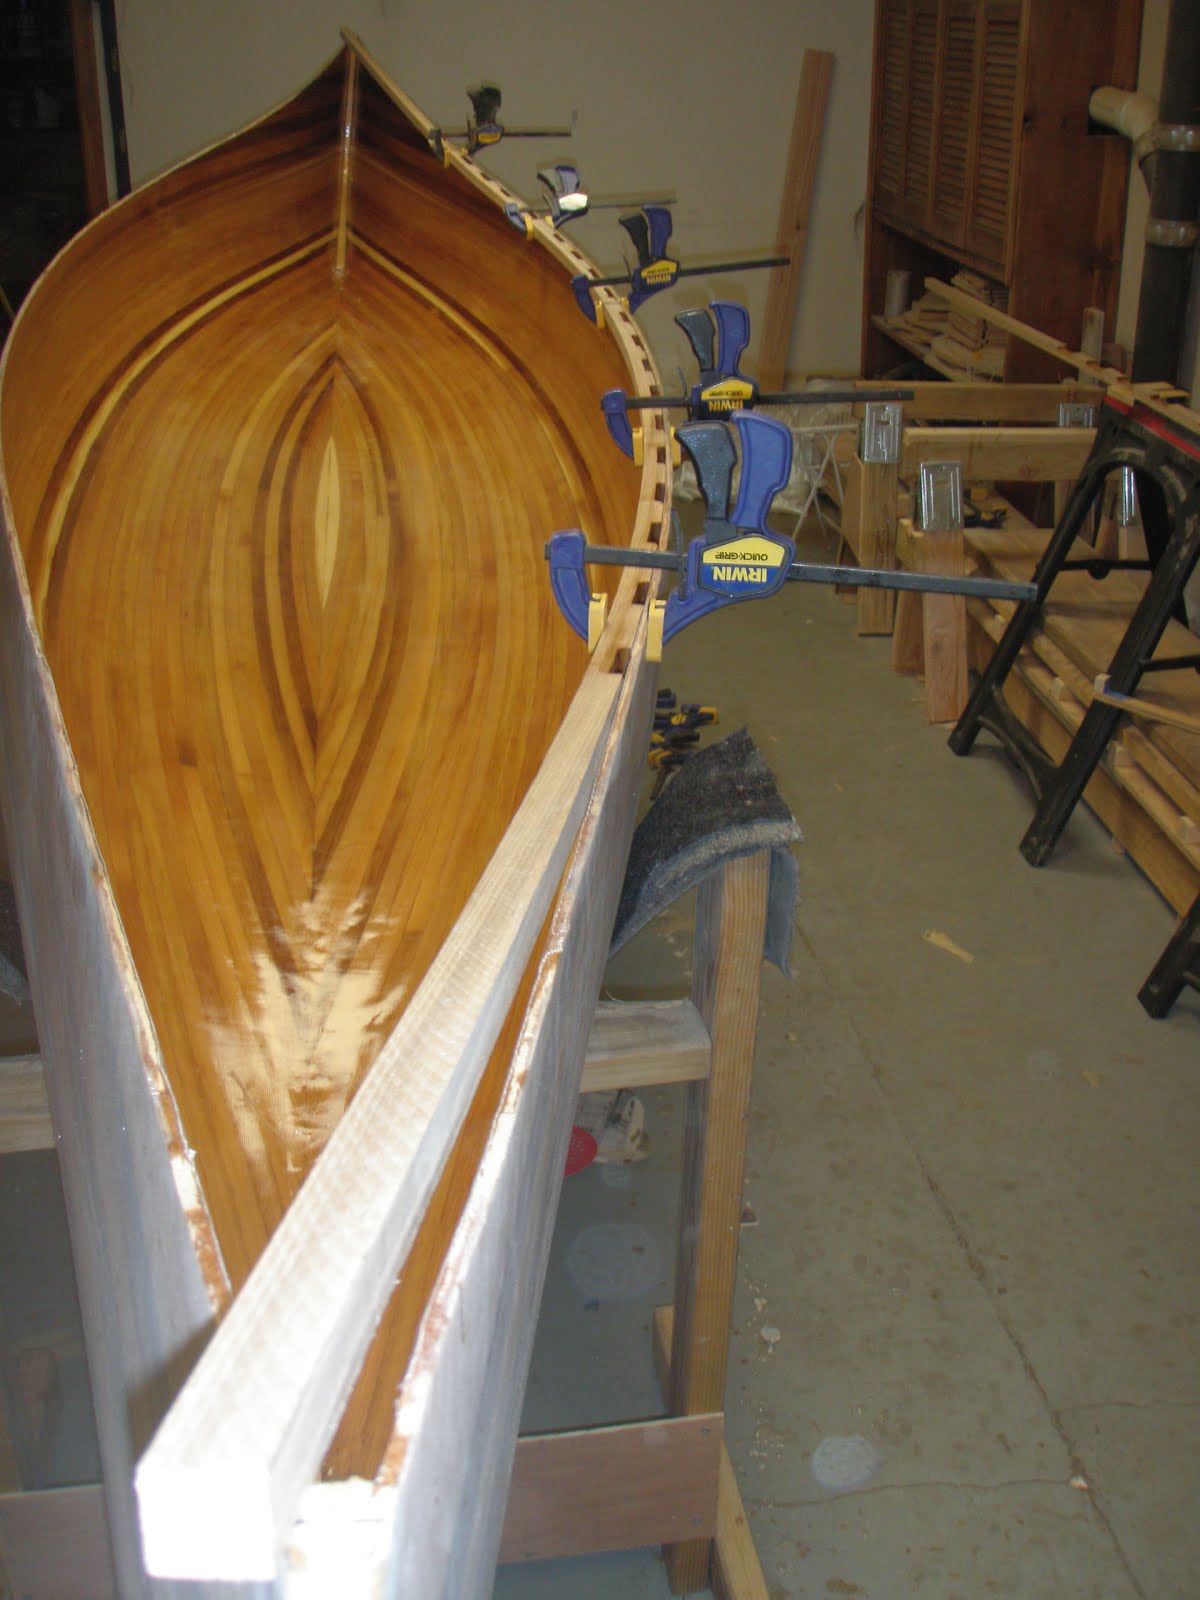
 Overhead shot of the inside with both inwalls installed.
 This is the bow with the light colored piece of cedar marking the waterline. Now we're off to Florida to launch Ben and Emily in the Watertribe Everglades Challenge. They leave Tampa Bay on Saturday and we will drive their SUV, trailer and the kids to Key Largo and wait for them. You can track them off the Watertribe site by clicking on map and their name. Macatawa or Northern Light.
No comments:
Post a Comment