
Begin with the end in mind. Here is a picture of my friend Lou who helped me glass the inside of the canoe today. I'm very please how its looking and can't wait to install the gunnels next. After about 4 hours I'll install the 2nd coat so it makes a strong chemical bond. Two coats should be enough on the inside to give a bit more texture and no slip surface. Now, back to the beginning.
 In celebration of President's Day today I worked on the canoe and made great progress. All last week I had been trying to lay out the "scuppers" (3" x 1/4" groves cut in the inner gunnels) in a pattern that would pleasingly give me solid wood for the yoke, thwart and seats. It was quite a challenge and I don't want to tell you how many diagrams I drew. Anyway, I finally transferred my pattern to a cedar batten that was clamped in place where the gunnels will go and it all worked out. I marked the strip and transfered my pattern to the two 3/4"x3/4" ash gunnels. I also invented a jig for my router that would cut exactly a 1/4" x 3" groove with a 1/2" router bit. I'm sure someone else has long ago invented this before me but since I didn't have their plans I considered it my invention.
 The ash gunnel slid in a trough where each part to be cut was marked with a center arrow. It worked quite well although using a router is no joke. I purchased a new 1/2" bit but it still splintered the wood in some places. Not sure why.
 Since it was nearly 50 degrees in February I set this all up outside. It worked very well except for my few mistakes that I hope you'll never see. :) Here you get a glimplse of some of the completed "scuppers".
 Before I did this I got Debra to help me lay out the figerglass cloth in the hull so it had time to settle. I think I used up all of our clothes pins and had to go to clamps to hold it in place. It actually settled in very nicely.
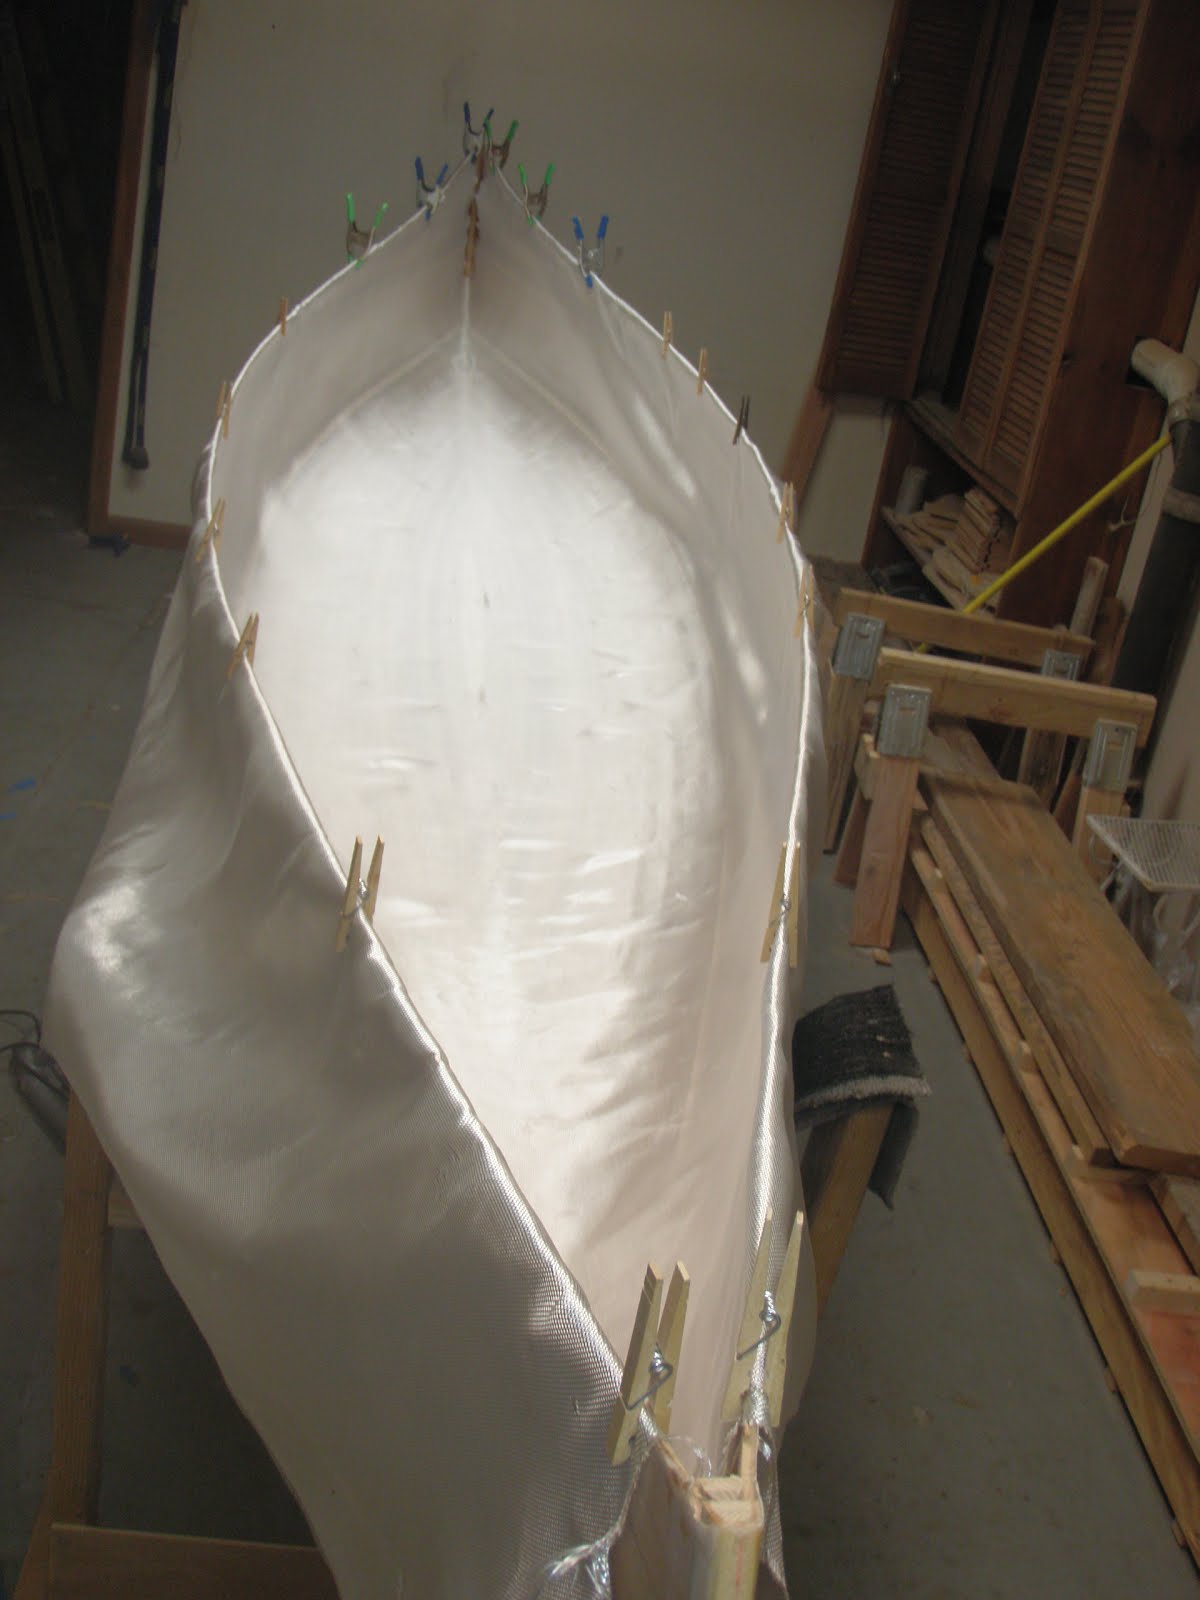 The book recommended leaving 4" at the end rather than trying to wrap the stem in glass cloth. My son Ben confirmed to me that the ends are inherently strong as they are and don't need the extra strength of the cloth. nevertheless, stubborn as I am and wanting the canoe to be as strong as possible I pushed the cloth to as close to the end as I could get it. I now understand why they recommend 4". However I was able to lift the cloth as recommend and lay the epoxy behind it and lay it back down. All in all in laid down well in the corners and extends almost to the stems.
 I picked up my friend Lou after his shift in the deli at Shoprite and he mixed epoxy while I installed it. The inside of the hull actually went easier and faster than the outside. I used the squeegee more than the brush in just pulling it up the sides as it filled the weave of the clother.
 Here is a picture of the completed first coat and Lou. I'm very please how its looking and can't wait to install the gunnels next. After about 4 hours I'll install the 2nd coat so it makes a strong chemical bond. Two coats should be enough on the inside to give a bit more texture and no slip surface.


