Friday, June 8, 2012

River of God School of Paddling

We are again out paddling in as young men are learning how to appreciate and enjoy God's creation and have a great time doing it. This year Eric White is our other adult volunteer and we are having a wonderful time each week. So far we have paddled the Passaic River below and above the falls.
 Here we are on the Monksville Reservior after having crossed over it even while the wind was blowing up.


Sunday, April 15, 2012

Out of the Basement

Wednesday we pulled the canoe out of the basement for the Paterson Habitat for Humanity Annual Dinner. I had been planning to take it out through the window only to find out that behind the jam I was going to cut out only to find out that the concrete came out another inch on each side behind the trim. So our Habitat construction foreman Don help me pull out the back steps and we took it out the back door. Now I can pull the back steps out in a few minutes and replace them with just a few screws. So the next canoe can be wider ! Great

Here I am in the backyard. It was great to see it in daylight except I saw every little mistake and flaw in the final varnish coats. I'm going to do one more final-final coat soon.
The folks at the Brownstone didn't know quite what to think when we carried in the canoe but we got it upstairs quick before anyone could protest to much. Folks enjoyed looking at it and there will be some kind of online bidding process.
The sign says..."Buy a Boat - Build a House" so make an offer we can't refuse!

Monday, April 2, 2012

Varnishing

Somewhere I read that varnishing is the "glory job" but personally I would describe it as the "gory job". So much work goes into the preparation to create a dust free environment. The only plus is that my wife Debra is very happy that the basement gets so thoroughly cleaned. This time in addition to a complete cleaning I created a virtual plastic tent over and around the canoe.
Once all the preparation is done however the results are beautiful. Here is the center yoke hanging to dry.
No, I am not turning into a sculptor. This is a neat little rack idea I stole from Nick Offerman's free Adobe account of the Bear Mountain Boat he built. I found it somewhere on the Bear Mountain Boat Shop site.
It basically keeps each extension tube for the seats labeled in the right place and they can actually be varnished on the rack simply by spinning them around the headless nail they are mounted on. Pretty cool.
Here is a picture of my "varnishing tent" with the seats hanging in the foreground and the one thwart in the background. I'm using the Epifances varnish that came with the kit and using a foam brush this time to eliminate streaks, runs and hopefully dust. So far so good.
My practice that I tried with the final varnish coats of the kayak is to keep the varnish chamber totally unventilated while I varnish and for an hour afterward. The fumes were not bad and it eliminates any dust particles moving around. After about an hour I have an exhaust fan pulling air through the basement but still not over the canoe. I also pull air from the upstairs and exhaust any of the fumes through the basement. Seems to be working well. First coat on the inside done - 3 or 4 more and then we flip it.

Monday, March 26, 2012

Seats & Thwart & Yoke

This past week I worked on setting the seats and thwart in place. I decided to recess the seat carriage bolts so they would not be seen. Therefore I reinforced the inwall under it with an extra 1/2" piece as you can see. This should provide plenty of support. Canoe Craft provides good instructions for setting the seats through the use of a "seat jig". It recommends the seats being 91/2 to 101/2 " off the bottom of the canoe. Once I laid it out I realized that the 4" brass carriage bolts that Noah's sent me were not going to be long enough for the rear seat. I called them and they quickly send me 4, six inch stainless steel carriage bolts for the rear seat. My plan is to finish them underneath with a larger washer and acorn nuts.

The Huron Cruiser plans call for a yoke or thwart in the center and another thwart 30" behind the center. For a canoe 15'9" long only one thwart is necessary. Noah's recommended only one and the two looked crowded. Therefore I prepared the thwart and the yoke to be interchangeable. They can easily be removed simply by loosening 4 nuts and replacing one with the other depending on the paddling needs. The yoke is pretty cool looking even if your not going to portage.
Here's a view from the stern to the bow with the thwart and front seat in place. Things are shaping up well and I'm on schedule for completion by the Paterson Habitat Annual Dinner on April 11.
Today I spent doing all the final sanding of the gunnels, thwart, yoke, seats and cleaning up the entire basement.
I will create a plastic -hopefully dust free- chamber for the final 5 coats of varnish on the inside and out.

Saturday, March 17, 2012

Decks and Outwalls

Last Saturday I got back from Florida where Debra and I watched out grandchildren while Ben & Emily completed the Everglades Challenge. Out of about 60 boats only 17 finished and they were number 14. They worked hard and even did the entire Wilderness Waterway through Everglades National Park. We are very proud of them for their perseverance. So now I'm back home to ministry and building. I completed the decks earlier in the week and installed them between the inwalls.

The decks will double as a carrying handle and I will install stainless steel padeyes under the deck to attack a line to and serve as a tie down point. This will keep the top of the deck and canoe clear and clean.
Preparing and installing the outwalls was a big job. They are made out of 7/8" ash. First I had to make two cuts. The first cut was the length of each outwall to taper the bottom edge from 7/8" to a 5/8" edge. This reduces some weight and looks good. The other taper was the same as on the inwall from 32" from the end and from 7/8" to 3/8". I again used the taper jig and it worked great. Once I got everything sanded and looking straight I had to try dryclamping each outwall to check that everything fit. I also needed to check that the screws I planned to install every 12" did not fall on the screws holding the inwalls. When all looked good I mixed a batch of thickened epoxy with some sanding dust for color and brushed it on.
The whole process took longer than expected but everything worked out well. I used clamps along with the screws and squeese clamps between the scuppers to keep the hull tight to the outwall.
Here you can see the screw holes. They are recessed about 1/4" and will receive a plug. The next step will be to use a beltsander across the inwall, outwall and top of deck to get everything smooth. I'm debating about just varnishing all this or covering it with epoxy first. I will test both out on a piece of ash with a plug.

Saturday, March 3, 2012

Everglades Challenge 2012

Today Ben & Emily launched at 7:00 a.m. from Ft. Desoto Park on the Tampa Bay in the Everglades Challenge 2012. Conditions were difficult to say the least with a 20 plus knot wind coming directly from the south which is the way they are headed. The wind is supposed to change tomorrow night. There are about 80 boats. Here are some pictures from the launch
Here is a short video of their takeoff. You can track them with everyone from the Watertribe tracking map or by themselves from Ben's SPOT page. Debra & I will be watching, praying and waiting for them in Key Largo with Sara and David.

Thursday, March 1, 2012

Installing the Inwalls

This week I installed the inwalls that I cut the scuppers in last week. Here I am checking a dry fit to cut the ends to length. It was a bit of a wrestling match doing this alone and an extra set of hands would have been welcome.
The plans call for a 30" taper from the stem in. This cut goes from 3/8" to the edge so your basically shaving off 4/8" of an inch over 30". I was trying to figure out how to cut this without messing it up. My son Ben send me the link for a Table Saw Taper Jig from woodworkingtips.com It really worked well and cut long beautiful tapers. The challenge is to make sure your cutting them on the right side.
Here is the one inwall installed and epoxied on. Once I got the center in place the rest clamped down fairly easy. I learned with the first one to do a final dry fit as well. Even though I thought I had it just right once it was popped into place I was 1/16" short on each side. I filled in with a few slivers of ash. The plans also called for using some 1/2" stainless steel screws to hold it into place. I've got 9 screws on each side
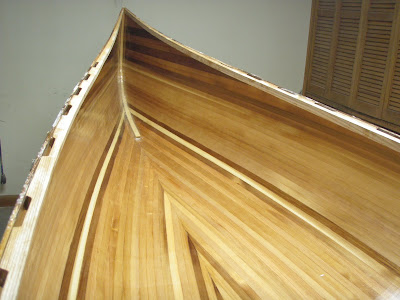
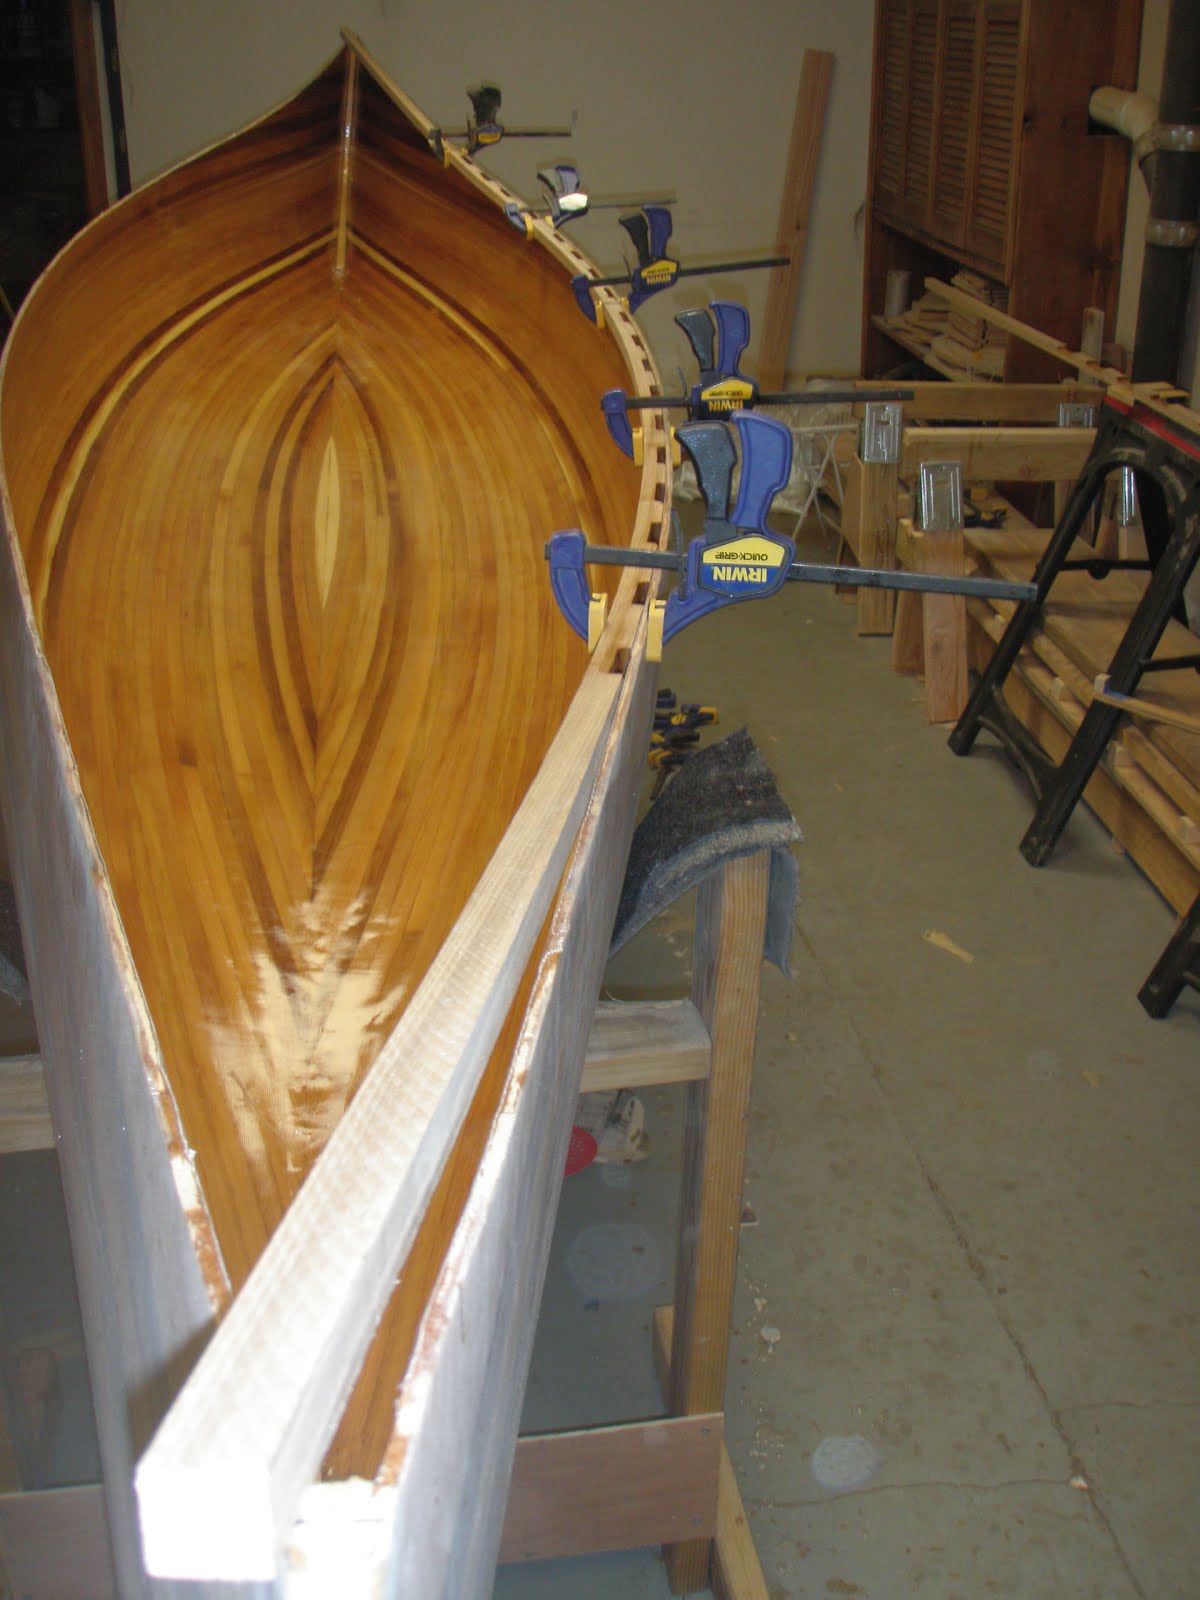
Here is a shot from the inside with both inwalls installed. The taper and the scuppers really look good and I was glad to see the results of the extra work. This inside still needs to be sanded before final coats of varnish but I think its looking pretty good.
Overhead shot of the inside with both inwalls installed.
This is the bow with the light colored piece of cedar marking the waterline. Now we're off to Florida to launch Ben and Emily in the Watertribe Everglades Challenge. They leave Tampa Bay on Saturday and we will drive their SUV, trailer and the kids to Key Largo and wait for them. You can track them off the Watertribe site by clicking on map and their name. Macatawa or Northern Light.